Sorry I have been AWOL again, but there's been a speck of bother in the garden that needed sorting this past week. I have waged war on the slimy snails that are munching on my 'cumbers in the greenhouse and I've stripped it out completely - everything - and checked, rechecked and repositioned everything back in to evict the little blighters!
They've munched my dahlias, my lupins, my cucumbers, chili's and peppers and now this is war....! So out they went, into the wildnerness (aka the garden!) to live happy little lives and get stalked by our springer, Holly! I don't hurt them because I actually think they're really cute.
So... excitement of the eviction over, replanting and shuffling done in the garden, frog watching in the pond complete, I am here to share another little tutorial video with you.
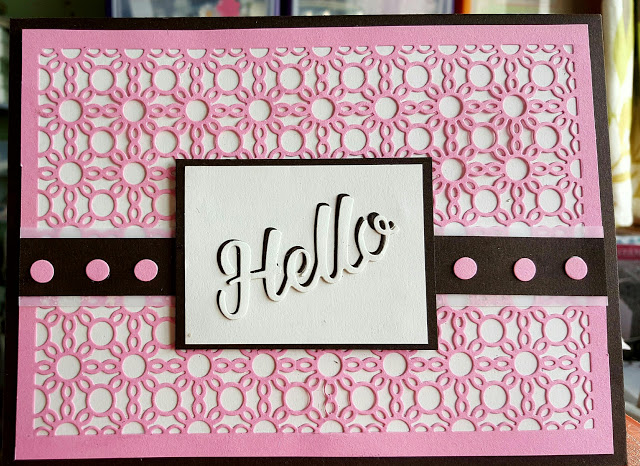
This one is to show you how to extend your patterned panel dies to fill a card front. I used an A5 size sheet, but you can extend the pattern as large as your die cut maching will allow. I have shared a few hints and tips along the way, but I haven't edited the video, so grab some ear plugs if you need to. Haha.
This is the finished card. You can see that I trimmed down all the sides so they were nice and even, and mounted it onto a chocolate base card. The little dots along the centre were the leftovers from the die cut.
I hope you liked todays tutorial. I will try to get back tomorrow with another.
Until then...
Happy Crafting!

No comments:
Post a Comment